May is going to be a busy month! I've got a show every weekend, so be sure to try and come out to one if you have a chance!
My next event will be the summer kick-off of the Tower Grove Farmer's Market in Tower Grove Park, just off of South Grand and Kingshighway in St. Louis.
The market will be open every Saturday from May 5th - November 3rd from 8am-noon. But the opening market and the Fall Festival hours will be 8am to 2pm.
This is a great place to come and support local farmers, artisans, food vendors and of course, vintage folks! If you're still figuring out what to get your mom for Mother's Day this is a great place to be! I'll be setting up at the market six times per year, usually on the first Saturday of the month.
Here's my schedule:
May 5th - 8-2pm
June 2nd - 8-Noon
July 7th - 8-Noon
August 4th - 8-Noon
September 1st - 8-Noon
October 20th - 8-2pm
If you live in St. Louis or nearby this is a fantastic market!
Find directions and a map here: http://www.tgmarket.org/about.php
Monday, April 30, 2012
Thursday, April 26, 2012
Mother's Day Gift Ideas!
Is your momma a fan of vintage? Or does she love really pretty jewelry? Well I've got some beautiful items in the shop that are sure to make great gifts. Here are some items I've hand-selected as gift ideas. Be sure to check them out!
 |
| Three piece "Hawaiian Diamonds" Set. Clip earrings, ring and Pendant/Brooch. Was your mother born in August? This would be perfect! Hawaiian Diamonds are actually olivine, the mineral that Peridot comes from. |
 |
Light, elegant and beautiful - this set is a wonderful, unique gift! |
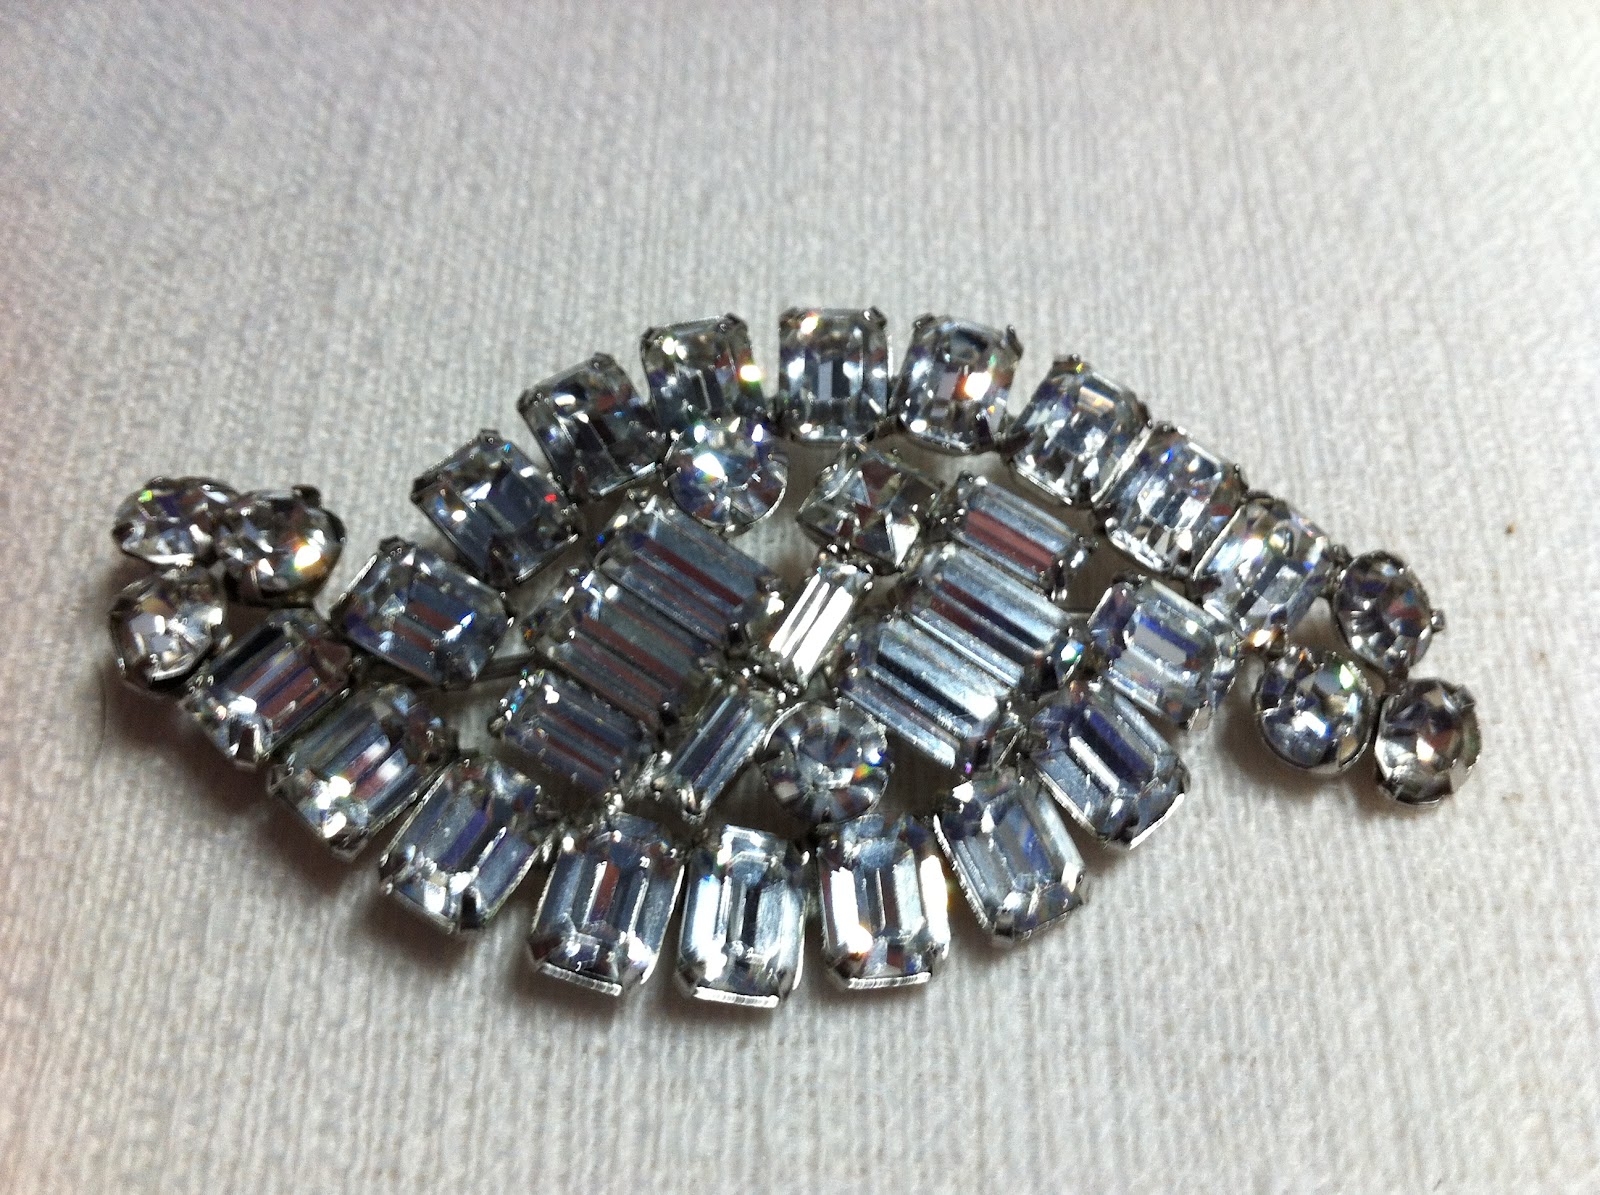 |
| Does your mom like pretty sparkly things? This art deco clear rhinestone brooch would be beautiful for her! |
 |
| What woman doesn't love cameos? This set from Florenza is stunning. These are real shell cameos, not resin. Handcarved beauties! |
 |
| I love Weiss - I collect their metal purses. For any Weiss collector this baby is a big, beautiful addition to their collection! |
 |
| This is a beautiful 1930s Art Deco Dress Pin - quite lovely! |
 |
I love this set! For a mom who loves purple this would be a great selection! |
 |
| This beautiful hand-painted brooch from the 50s would be wonderful for a mom who loves flowers or gardening! |
 |
| This brooch is perfection for Mother's Day - A momma elephant leading her baby!! |
 |
| Lockets are ideal gifts for moms! This one from Park Lane is very pretty! |
 |
| Beautiful six strand necklace made of black glass, gold and faux pearls, this is elegant and stunning! |
 |
This carved plastic set is very light weight, easy to wear and super pretty - especially if your mom loves daffodils! |
Monday, April 16, 2012
Crafty Me - Earring Display
 |
| Final product. |
Step One - Frame Selection
I really liked this frame because it had a slightly vintage/old-fashioned look to it. Plus the details add depth. If you use a flat frame your jewelry will stick out past the frame and it'll look a bit odd. Choose a frame that has about an inch worth of depth in it. It'll offset your jewelry nicely. You'll want to remove the glass from the frame, or if you have frames that are missing glass already this is a great way to repurpose them! Also, make sure the frame you select has a stand already or be willing to purchase an easel of some sort. (Tip - I often use plate holders as little easels for displaying purses and jewelry, so if you have a big enough one you could put the frame in it like an easel.) The final thing to keep in mind when selecting your frame is "What will you be displaying?" A normal 8x10 frame is great for earrings, but you wouldn't be able to put many necklaces on it. A larger frame will give you room for more necklaces or bigger pieces of jewelry.
Step Two - Select Your Backing
 |
| The "Too Busy" Background |
Step Three - Assembly
For this you'll need the following items:
- Your chosen fabric or contact paper
- Staple gun and staples
- Photo hanging wire or jewelry making wire
- Wire cutters
- Scissors
- Place your fabric on a smooth surface, put the back of the photo frame on it and measure 1/2in away from each side of the frame backing. This will be the piece of fabric you'll attach to the frame.
- Cut out your fabric pattern.
- Using the staple gun attach the fabric to the frame backing - be sure to keep the fabric taunt so there are no wrinkles on the board.
- Measure out your wire lengths. Make the wire one inch longer than the photo frame board, giving you a 1/2in on each side. Cut out four pieces of wire for an 8x10 frame. (If you're hanging longer pieces of jewelry you'll need to adjust your measurements to fit. Start with one piece of wire and see what space you need for your pieces)
- Staple wire to the back of the frame - make sure it's taunt. Space each wire about an 1 1/2in apart and apply all four wires.
- Staple the center of the wires on the front of the frame for support.
- Cut a 1in wide ribbon piece to be 1in longer than the middle of the picture frame.
- Cover the center support staples with ribbon and staple ribbon to the back of the frame board.
- Insert frame board into the frame and secure.
- Attach your earrings!
- Pick a frame with at least 1in in depth
- Think about what you're displaying and choose the right size frame
- Pick a background that doesn't overwhelm your jewelry
- Use a fabric or contact paper background for long-term wear
Sunday, April 15, 2012
Where to Find Me Next - Wallach House April Girl's Night Out
This is a great event for any ladies within the St. Louis/Eureka area! The ladies of the Wallach House really know how to throw a fun party, filled with lots of prizes, snacks, wine and more!
While I won't be able to be there in person I'll be there in spirit and you can still shop Case 8 for fabulous vintage costume jewelry!

Event Details:
What's happening?
You will enjoy great food & wine tastings, special sales just for you, a fun make it and take it, DOOR PRIZES all night long, photos with "The Rock", tablescapes and entertaining ideas, and more!
|
Featuring...
Johnnie's Place, you have to try the trashed wings, Mary Kay Cosmetics, for luscious summer lips, A Little Treat, you will love the cake pops, and more coming!
Find out more about the Wallach House here - http://wallachhouse.com/
Follow Wallach House on Facebook - http://www.facebook.com/pages/Wallach-House-Home-Furnishings-Antiques-Gifts/163847690310390
Thursday, April 12, 2012
Part X - I Don't Wear Brooches! A Series on Ways to Repurpose Vintage Brooches
This is the final post in my series on fun, simple ways to use vintage brooches. For the 10th post we'll talk about belts! A vintage brooch can turn a belt into a work of art with a few simple techniques!
First - The scarf belt and using a vintage brooch as the fastener - If you have vintage scarves already this is a great way to combine both!

Second - Skinny metal belt with brooch - This is a simple way to slide a brooch over the belt and add some flair to a goldtone belt!

Third - Ribbon Belt - again ribbons are your best friend! Look how elegant a simple ribbon held with a vintage brooch can be on a dress!

Fourth - The leather belt and brooch. For this I recommend a large brooch. Since leather is so hard to puncture you need a brooch that can fasten around the leather. Try to find a brooch that's pin is just a bit wider than the width of the belt and if possible use a thin leather belt, this will give you the most successful results.

This concludes my series on simple, quick, unusual ways to use vintage brooches. If you missed the rest of the series be sure to go back and look at posts 1-9!
Which idea was your favorite? Which one inspired you? The next time you see a vintage brooch will you say "This brooch is beautiful, but I don't wear brooches?"
First - The scarf belt and using a vintage brooch as the fastener - If you have vintage scarves already this is a great way to combine both!

Second - Skinny metal belt with brooch - This is a simple way to slide a brooch over the belt and add some flair to a goldtone belt!
Third - Ribbon Belt - again ribbons are your best friend! Look how elegant a simple ribbon held with a vintage brooch can be on a dress!
Fourth - The leather belt and brooch. For this I recommend a large brooch. Since leather is so hard to puncture you need a brooch that can fasten around the leather. Try to find a brooch that's pin is just a bit wider than the width of the belt and if possible use a thin leather belt, this will give you the most successful results.
This concludes my series on simple, quick, unusual ways to use vintage brooches. If you missed the rest of the series be sure to go back and look at posts 1-9!
Which idea was your favorite? Which one inspired you? The next time you see a vintage brooch will you say "This brooch is beautiful, but I don't wear brooches?"
Subscribe to:
Posts (Atom)